Our precious little Maralyn Mae, now one, has changed everything around here…including our once camo – guns – and – legos – themed household.
Now the camo, guns, and legos are still winning the battle if you’re measuring their victory by their presence per square foot, but the pink fluffy stuff is slowly but surely gaining ground. And I have a feeling that at the end of the day – like in 13 years – pink will reign and all things blue will be in total subjection. 🙂
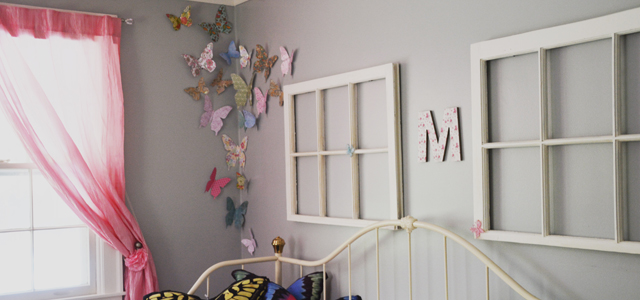
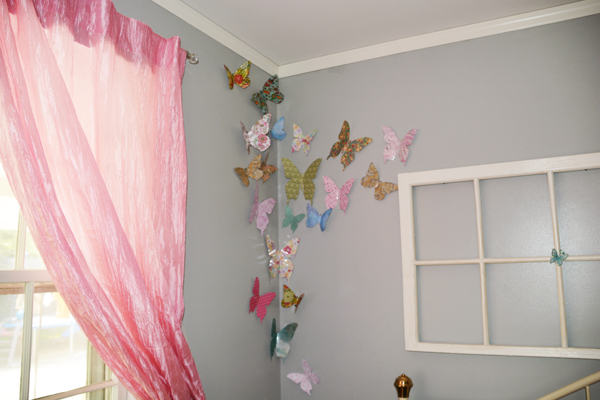
But for now, the spare bedroom has mysteriously and suddenly morphed into (in my personal opinion) a beautiful palace fit for a princess.
Confession Time: that “beautiful palace fit for a princess” is maybe, sorta, kinda my own dream little girl’s room. 🙂 (Hope she likes butterflies, hearts, and flowers.)
So if your home is in the midst of its own Pink Vs. Blue battle and you’re looking to secret some “ammunition” over to the pink side, here is a step-by-step guide for making some pretty paper butterflies!
How To Make Paper Butterflies To Hang On A Wall
Supplies You Will Need:
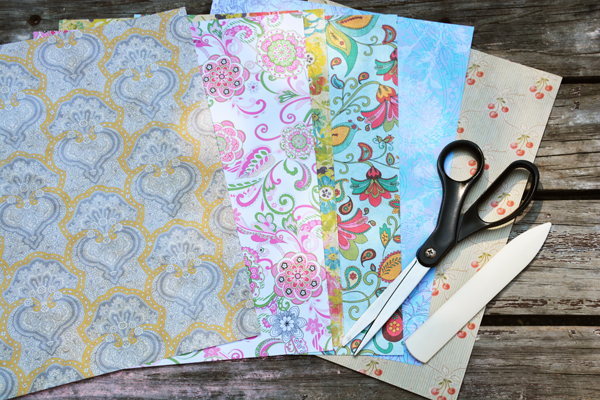
- Several sheets of 8.5 x 11 scrapbooking paper in assorted patterns
- Boning tool
- Scissors
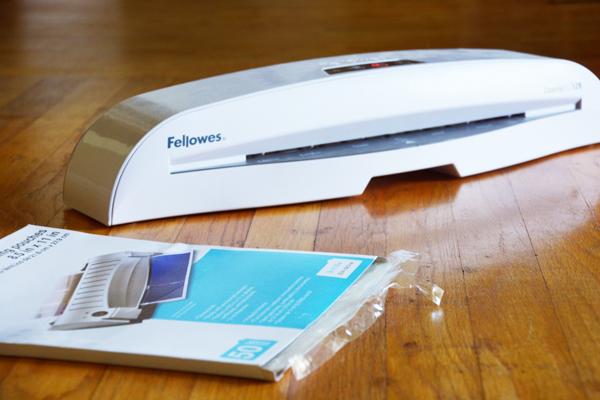
- Laminating machine and packets
Directions:
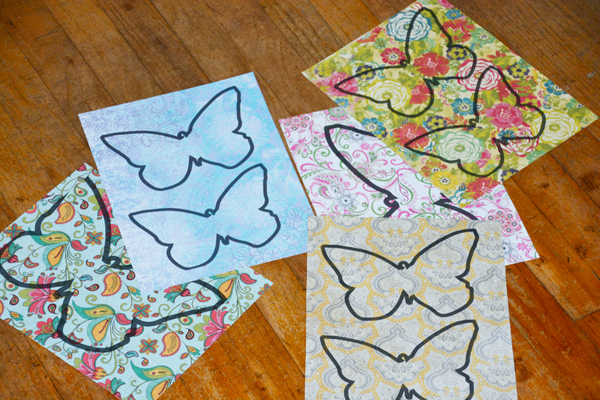
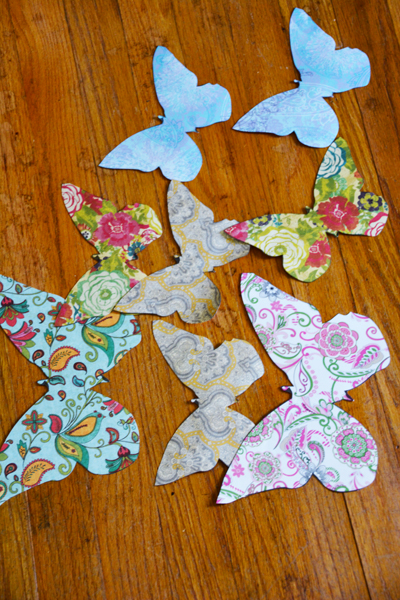
1. Print a butterfly template on your scrapbooking paper. Go to This Link for the template that I used. Or, if you’re super artsy, draw your own butterfly. I, however, am not artsy. I printed out several of the medium-sized butterflies and two or three of the large ones.
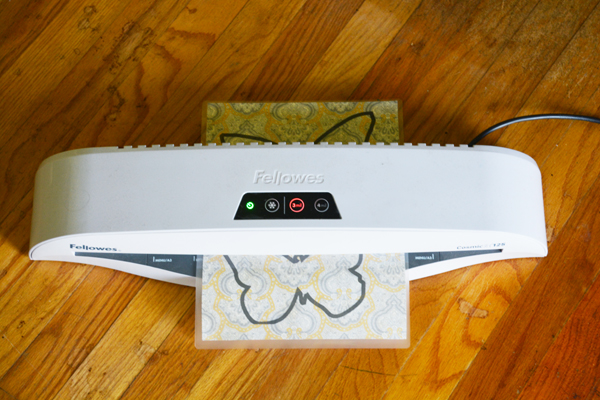
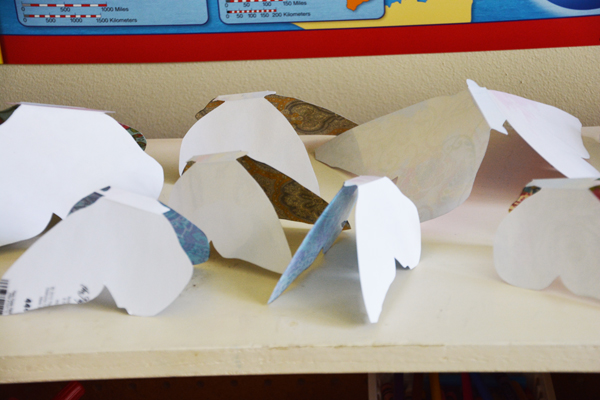
2. After printing them out, run them through your laminating machine.
3. Now for the tedious part…time to cut out all of your butterflies. This particular template is drawn with a very thick line, so make sure that you cut on the inside of the line so that it doesn’t show up on your final product.
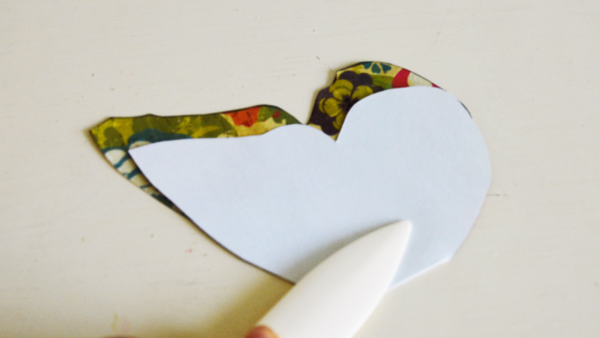
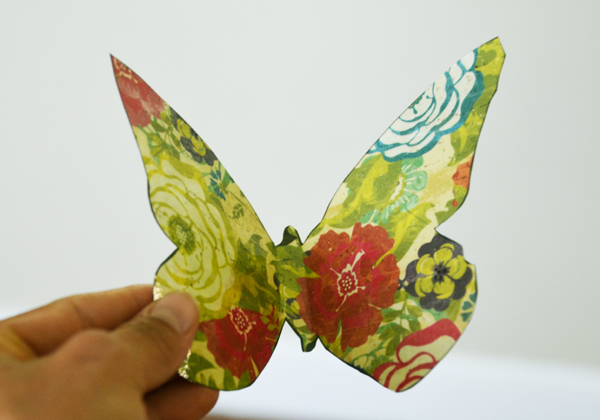
4. Even though they already look pretty, try this little trick to really make them pop…fold in each wing right where it connects to the caterpillar body. Using your boning tool, crease each fold very firmly. Now they have a 3D appearance!
5. Using some wall mounting putty, press all of your butterflies firmly against the wall. The butterflies will have a natural-looking flow to them if you start with a few butterflies in a straight line closer to the floor. Add more butterflies so that there is a “clump” of them, and then closer to the ceiling you can have them branch out in different directions.
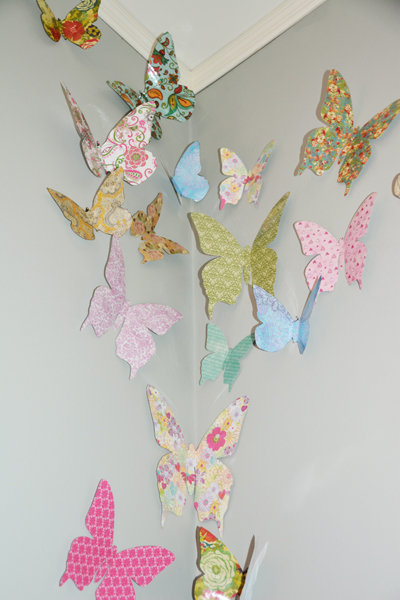
Easy peasy!
Any other ideas for homemade decorations for a girl room? Please share!